
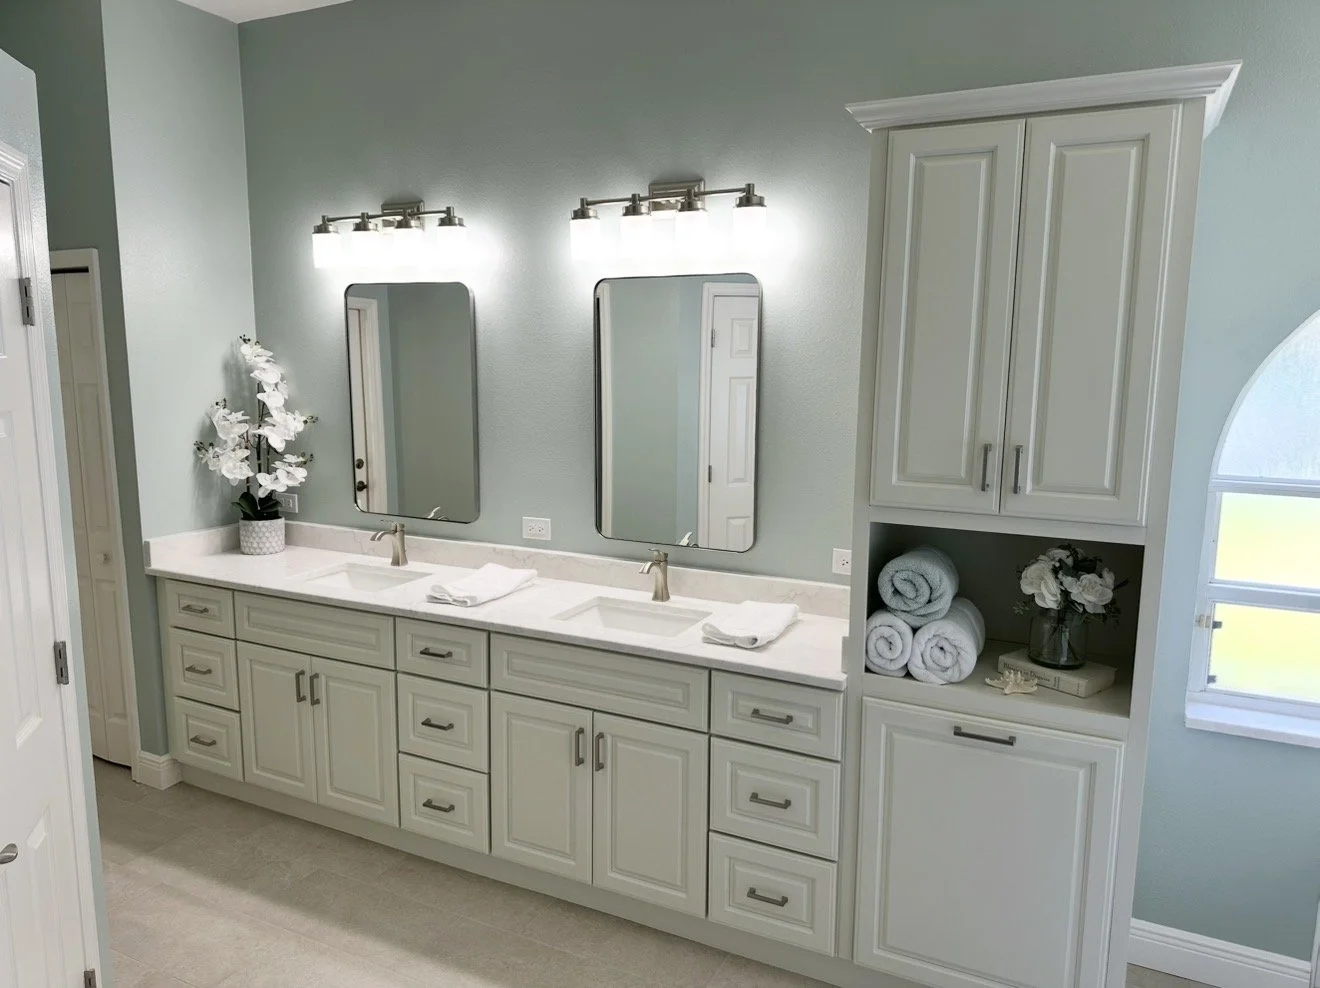
How to Choose Cabinets for a Central Florida Kitchen or Bathroom
Every cabinet line we carry is built to last. What changes as you climb the five tiers is choice: more door styles, finishes, wood species, and customization. Here is how to choose cabinets for a Central Florida kitchen or bathroom, and what your money buys at each tier.
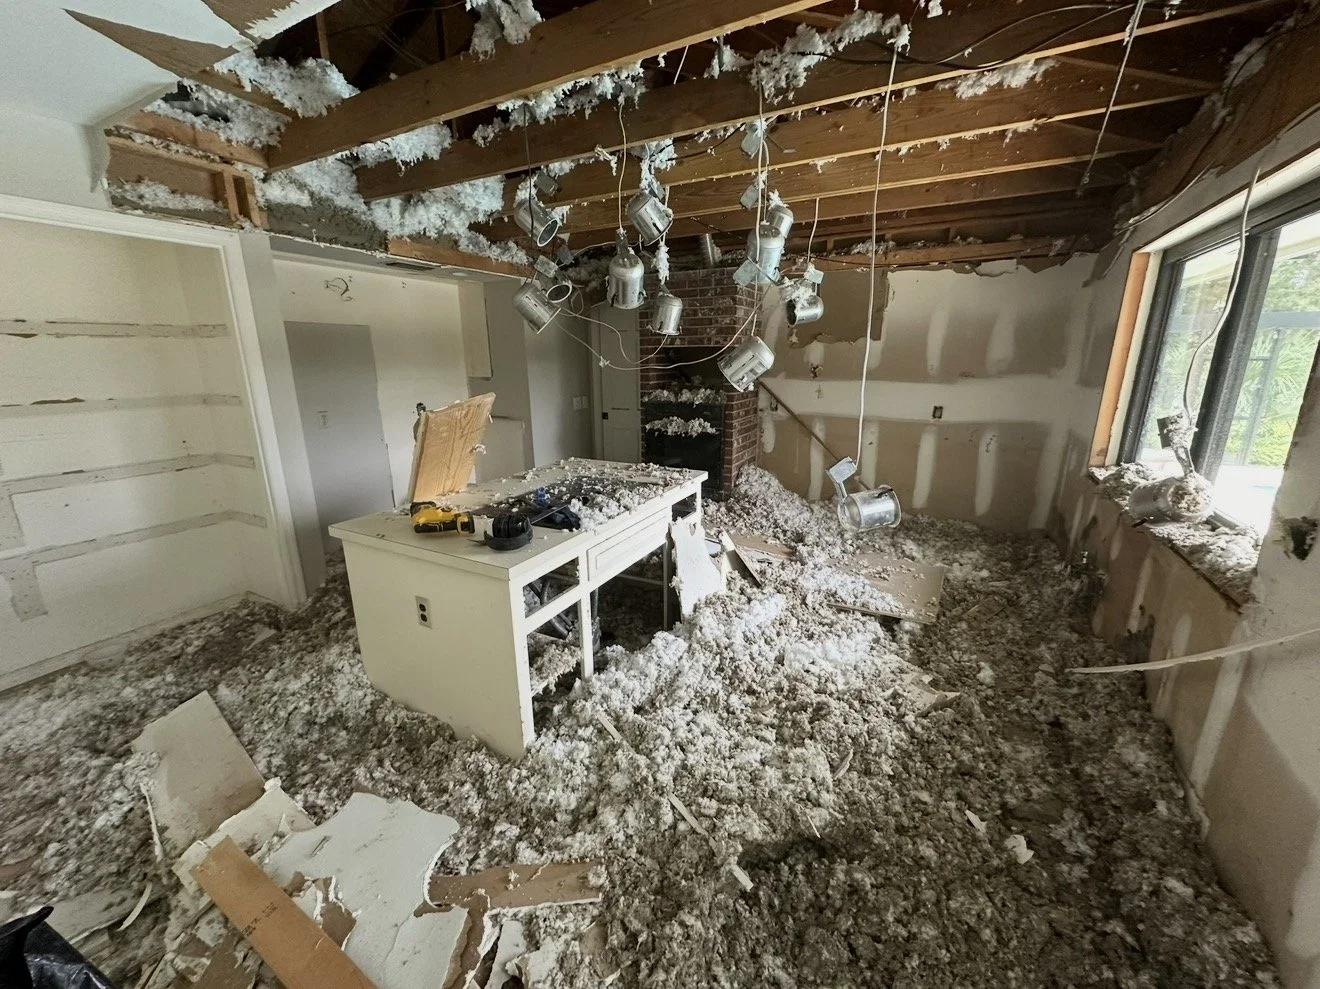
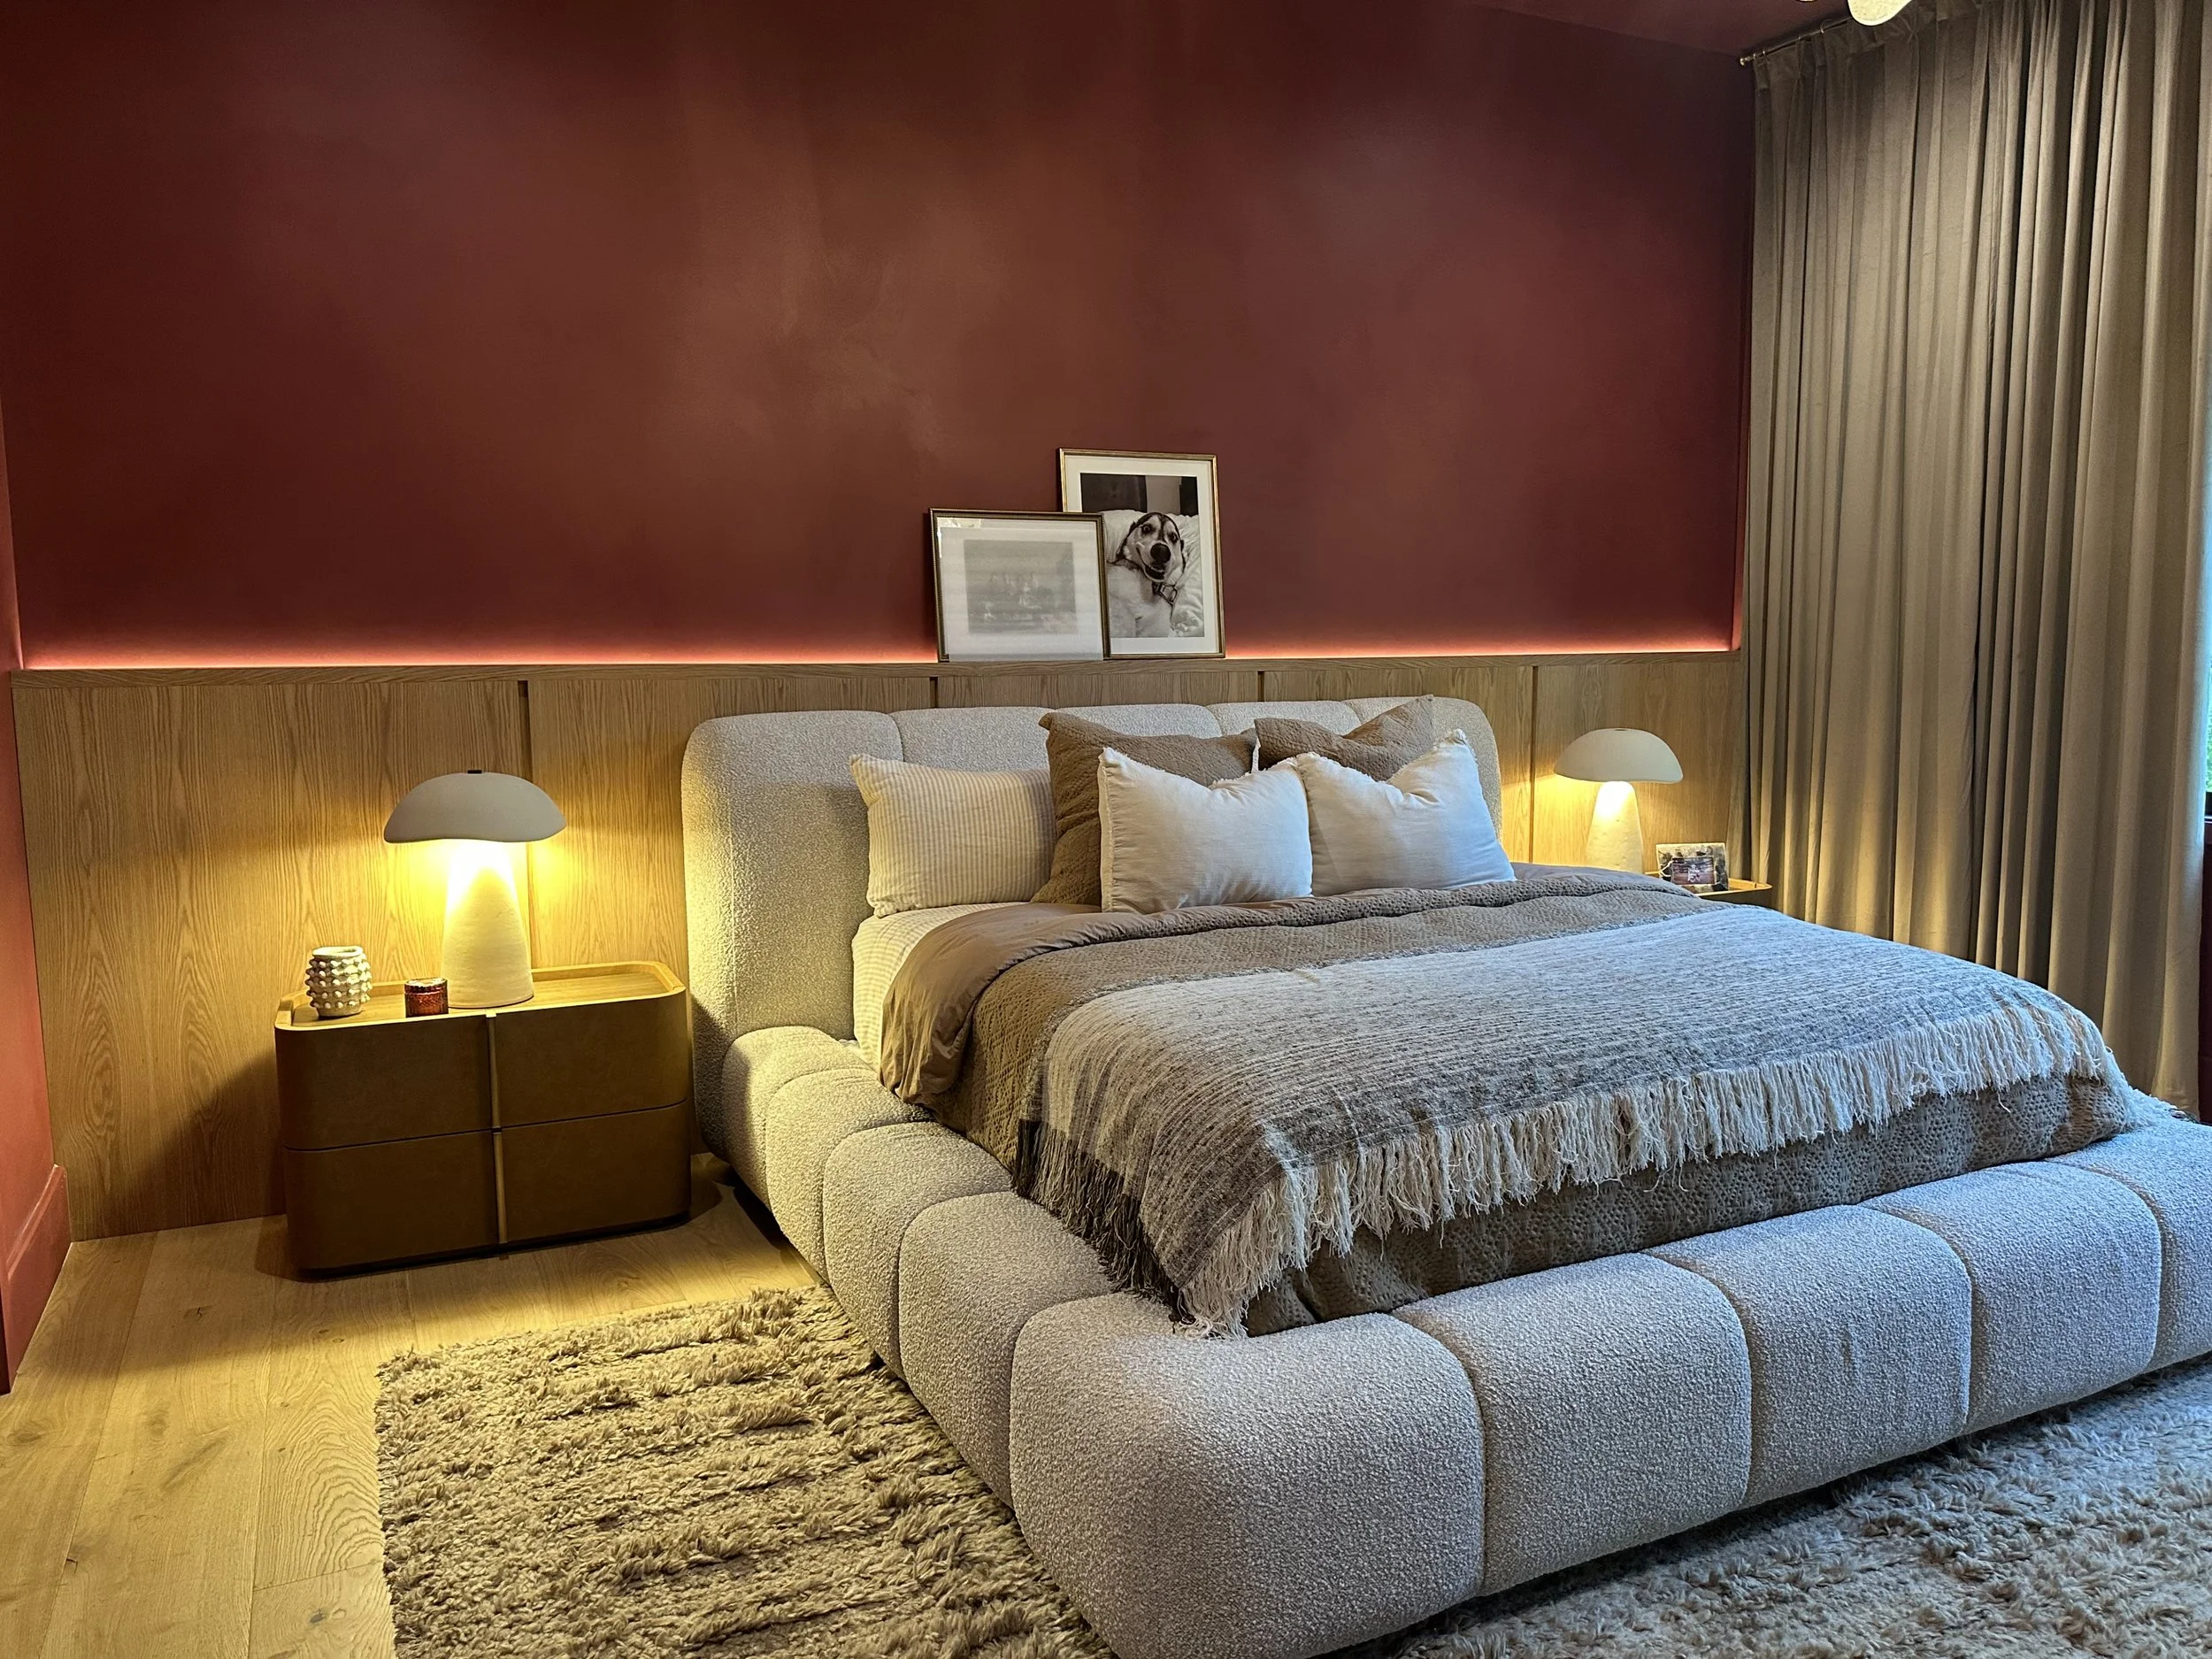
Should You Live in Your Home During a Remodel?
Some remodels you live right through. Others you do not. Here is how we sort projects into four levels of disruption, and what each one means for staying or moving out.
Do You Need a Permit to Remodel in Central Florida?
Most kitchen and bathroom remodels in Central Florida need a permit, and a typical project runs on four. Here is how the permit and inspection process actually works, what it adds to your timeline, and why it belongs with a licensed contractor.
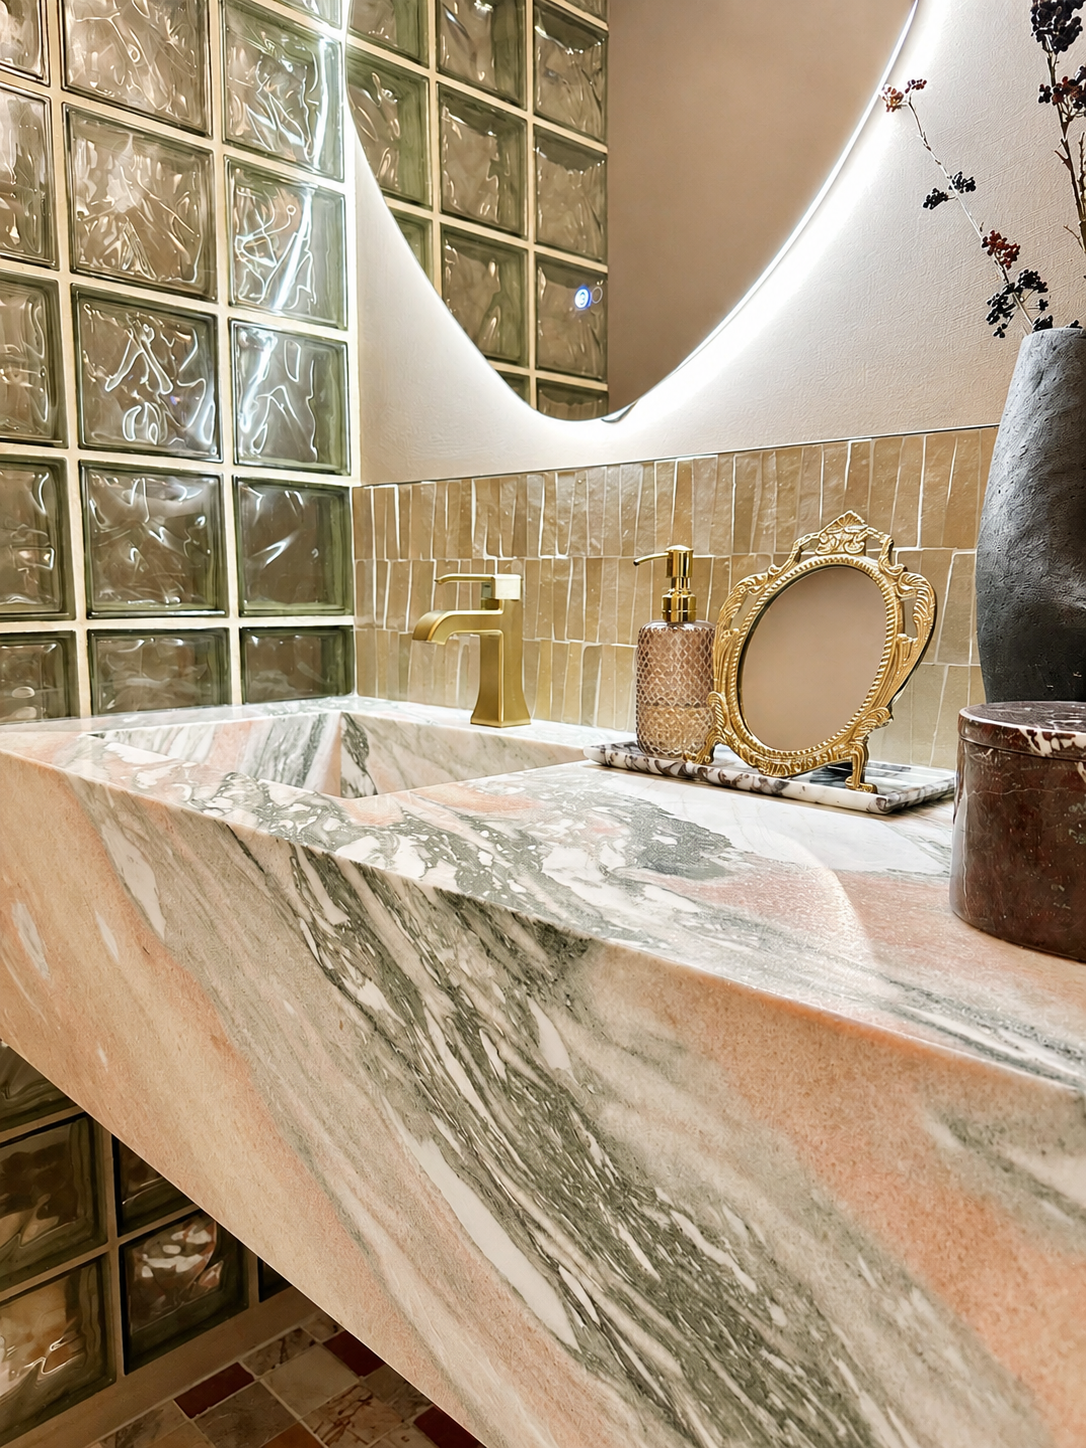
Quartz, Natural Stone, or Porcelain: How to Choose the Right Countertop
Quartz, natural stone, and porcelain each behave differently. Here is how to choose the right countertop for how you actually live.

How to Choose a Remodeling Contractor in Central Florida
A straight guide to picking a remodeling contractor in Central Florida, from verifying the license and insurance to reading reviews the right way and knowing what a deposit should actually look like.
Do You Need a Designer for Your Remodel?
There is no single right way to handle the design on a remodel. Here are three ways to work with us, from bringing your own products to a full designer experience.
Getting Multiple Quotes for a Remodel: What Most People Get Wrong
Everyone says get three quotes. Nobody tells you those three quotes are usually for three different projects. Here is why they do not line up, and how to compare them without losing your mind.
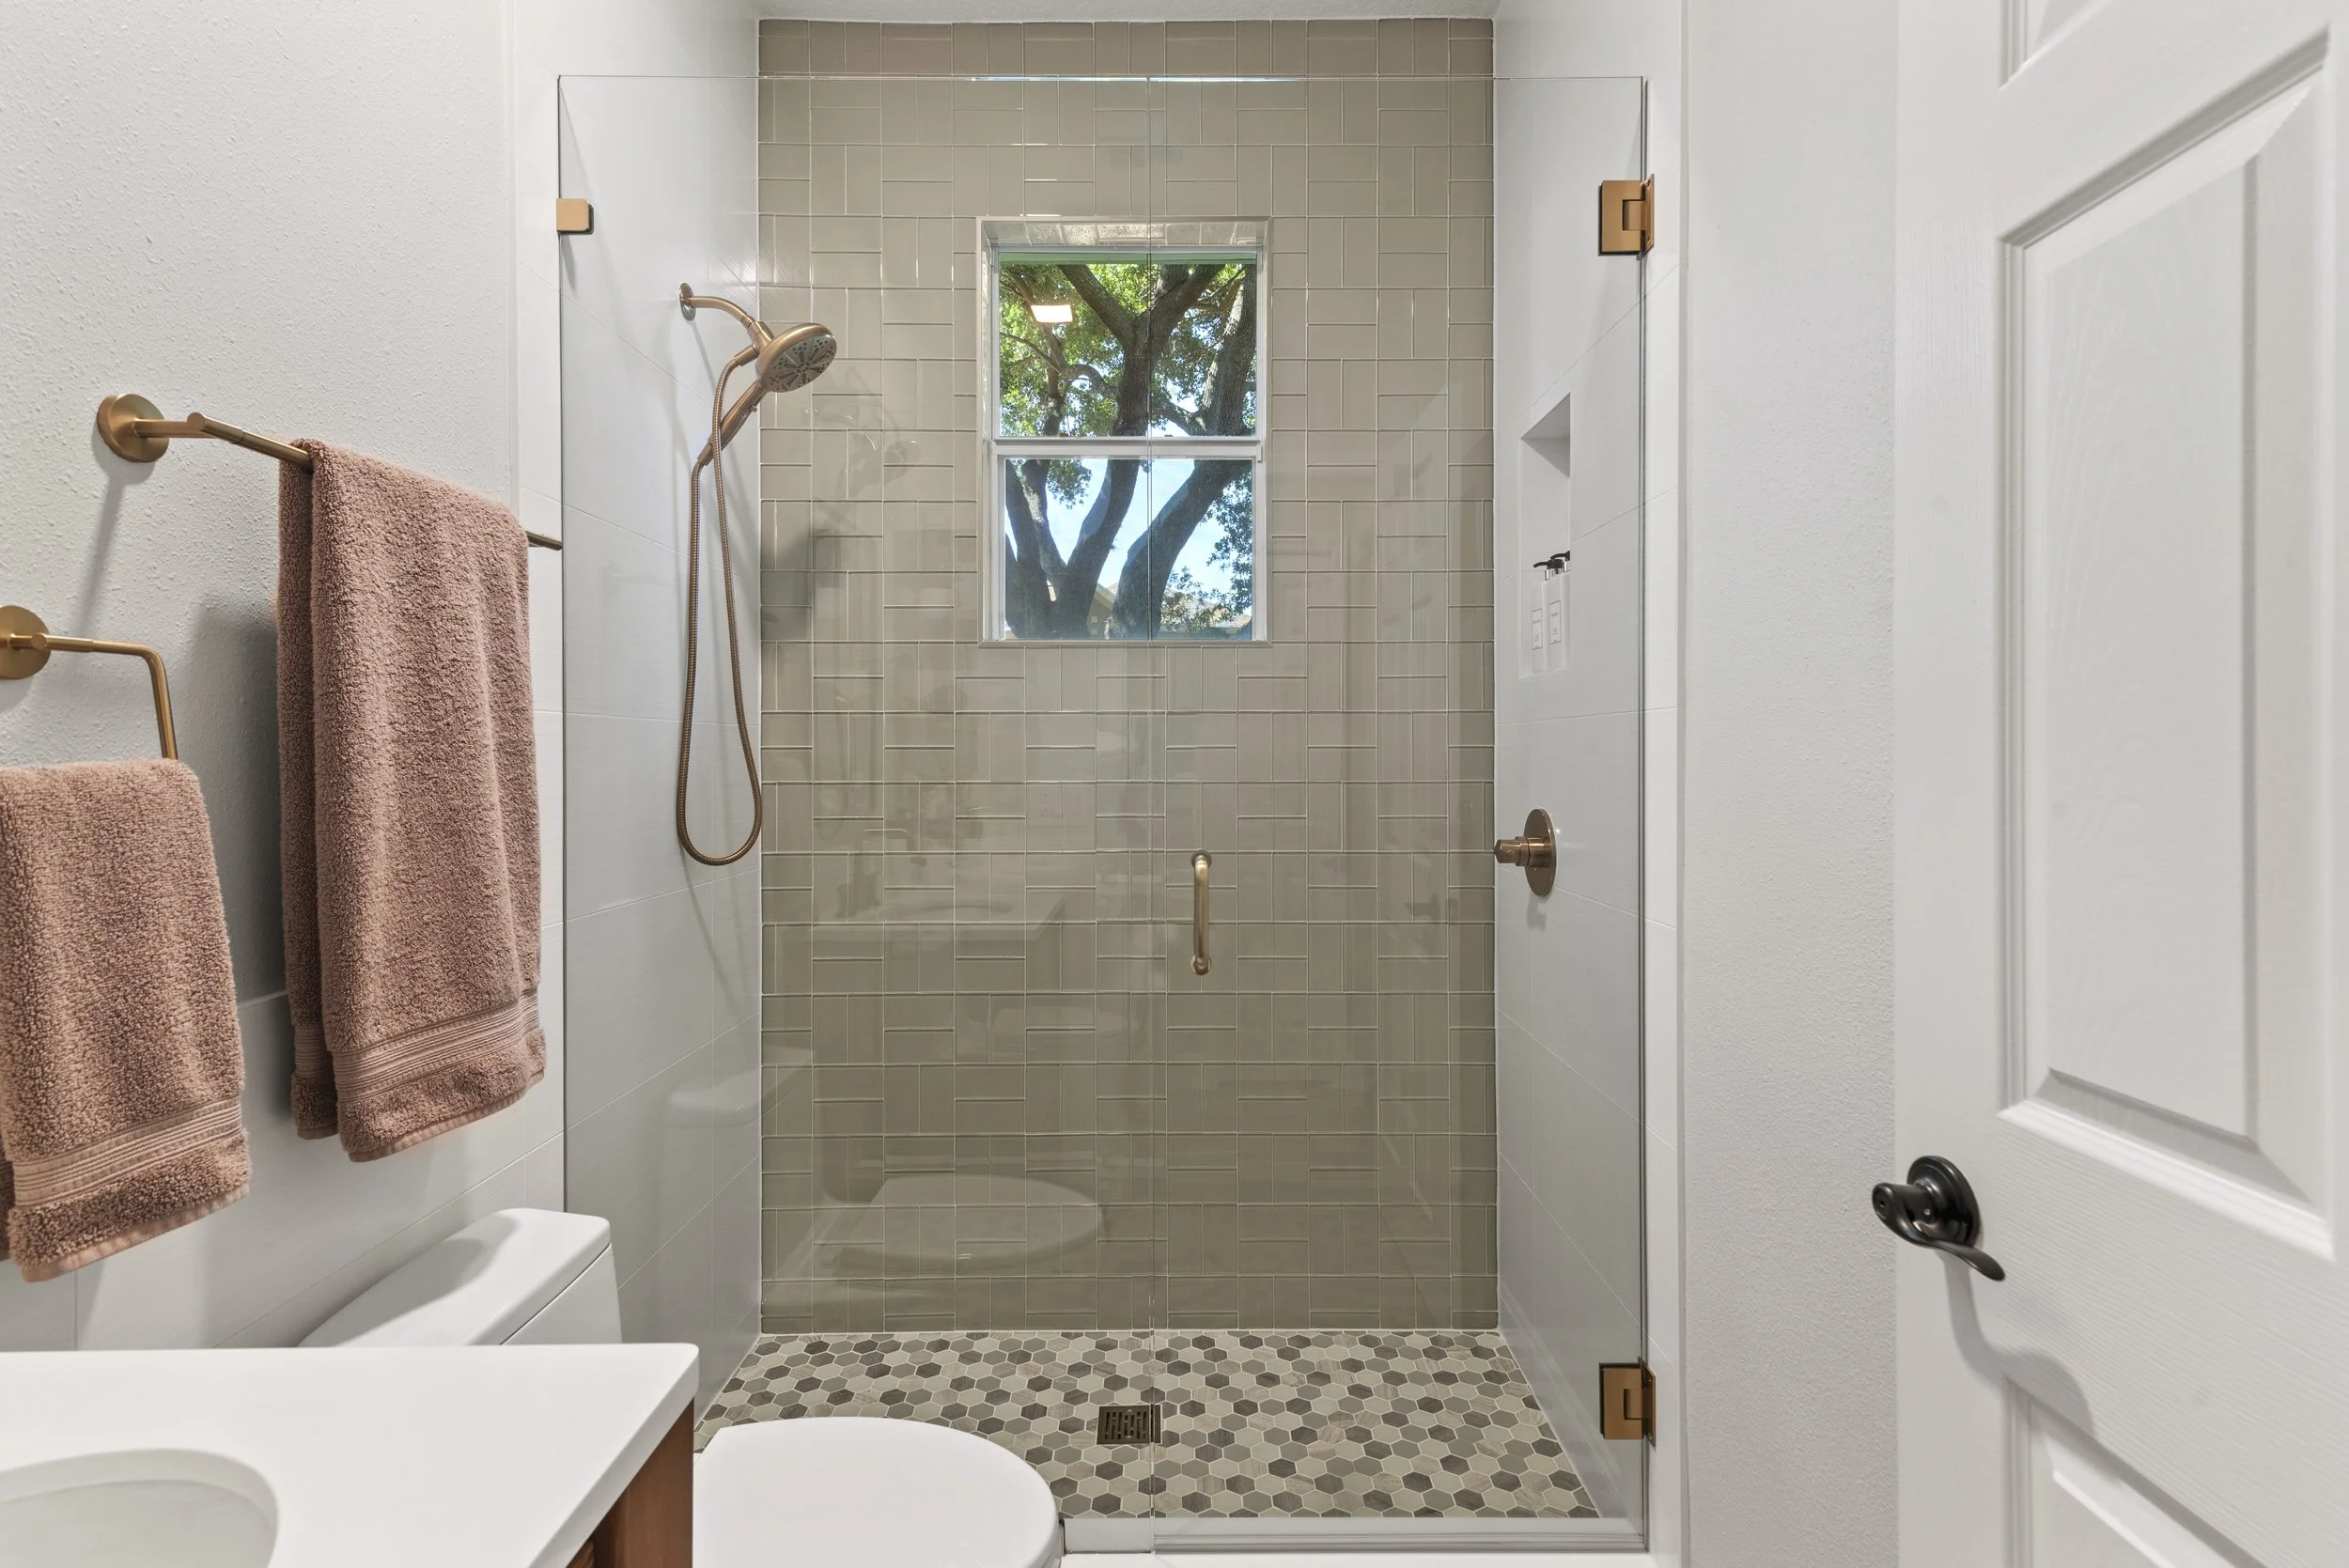
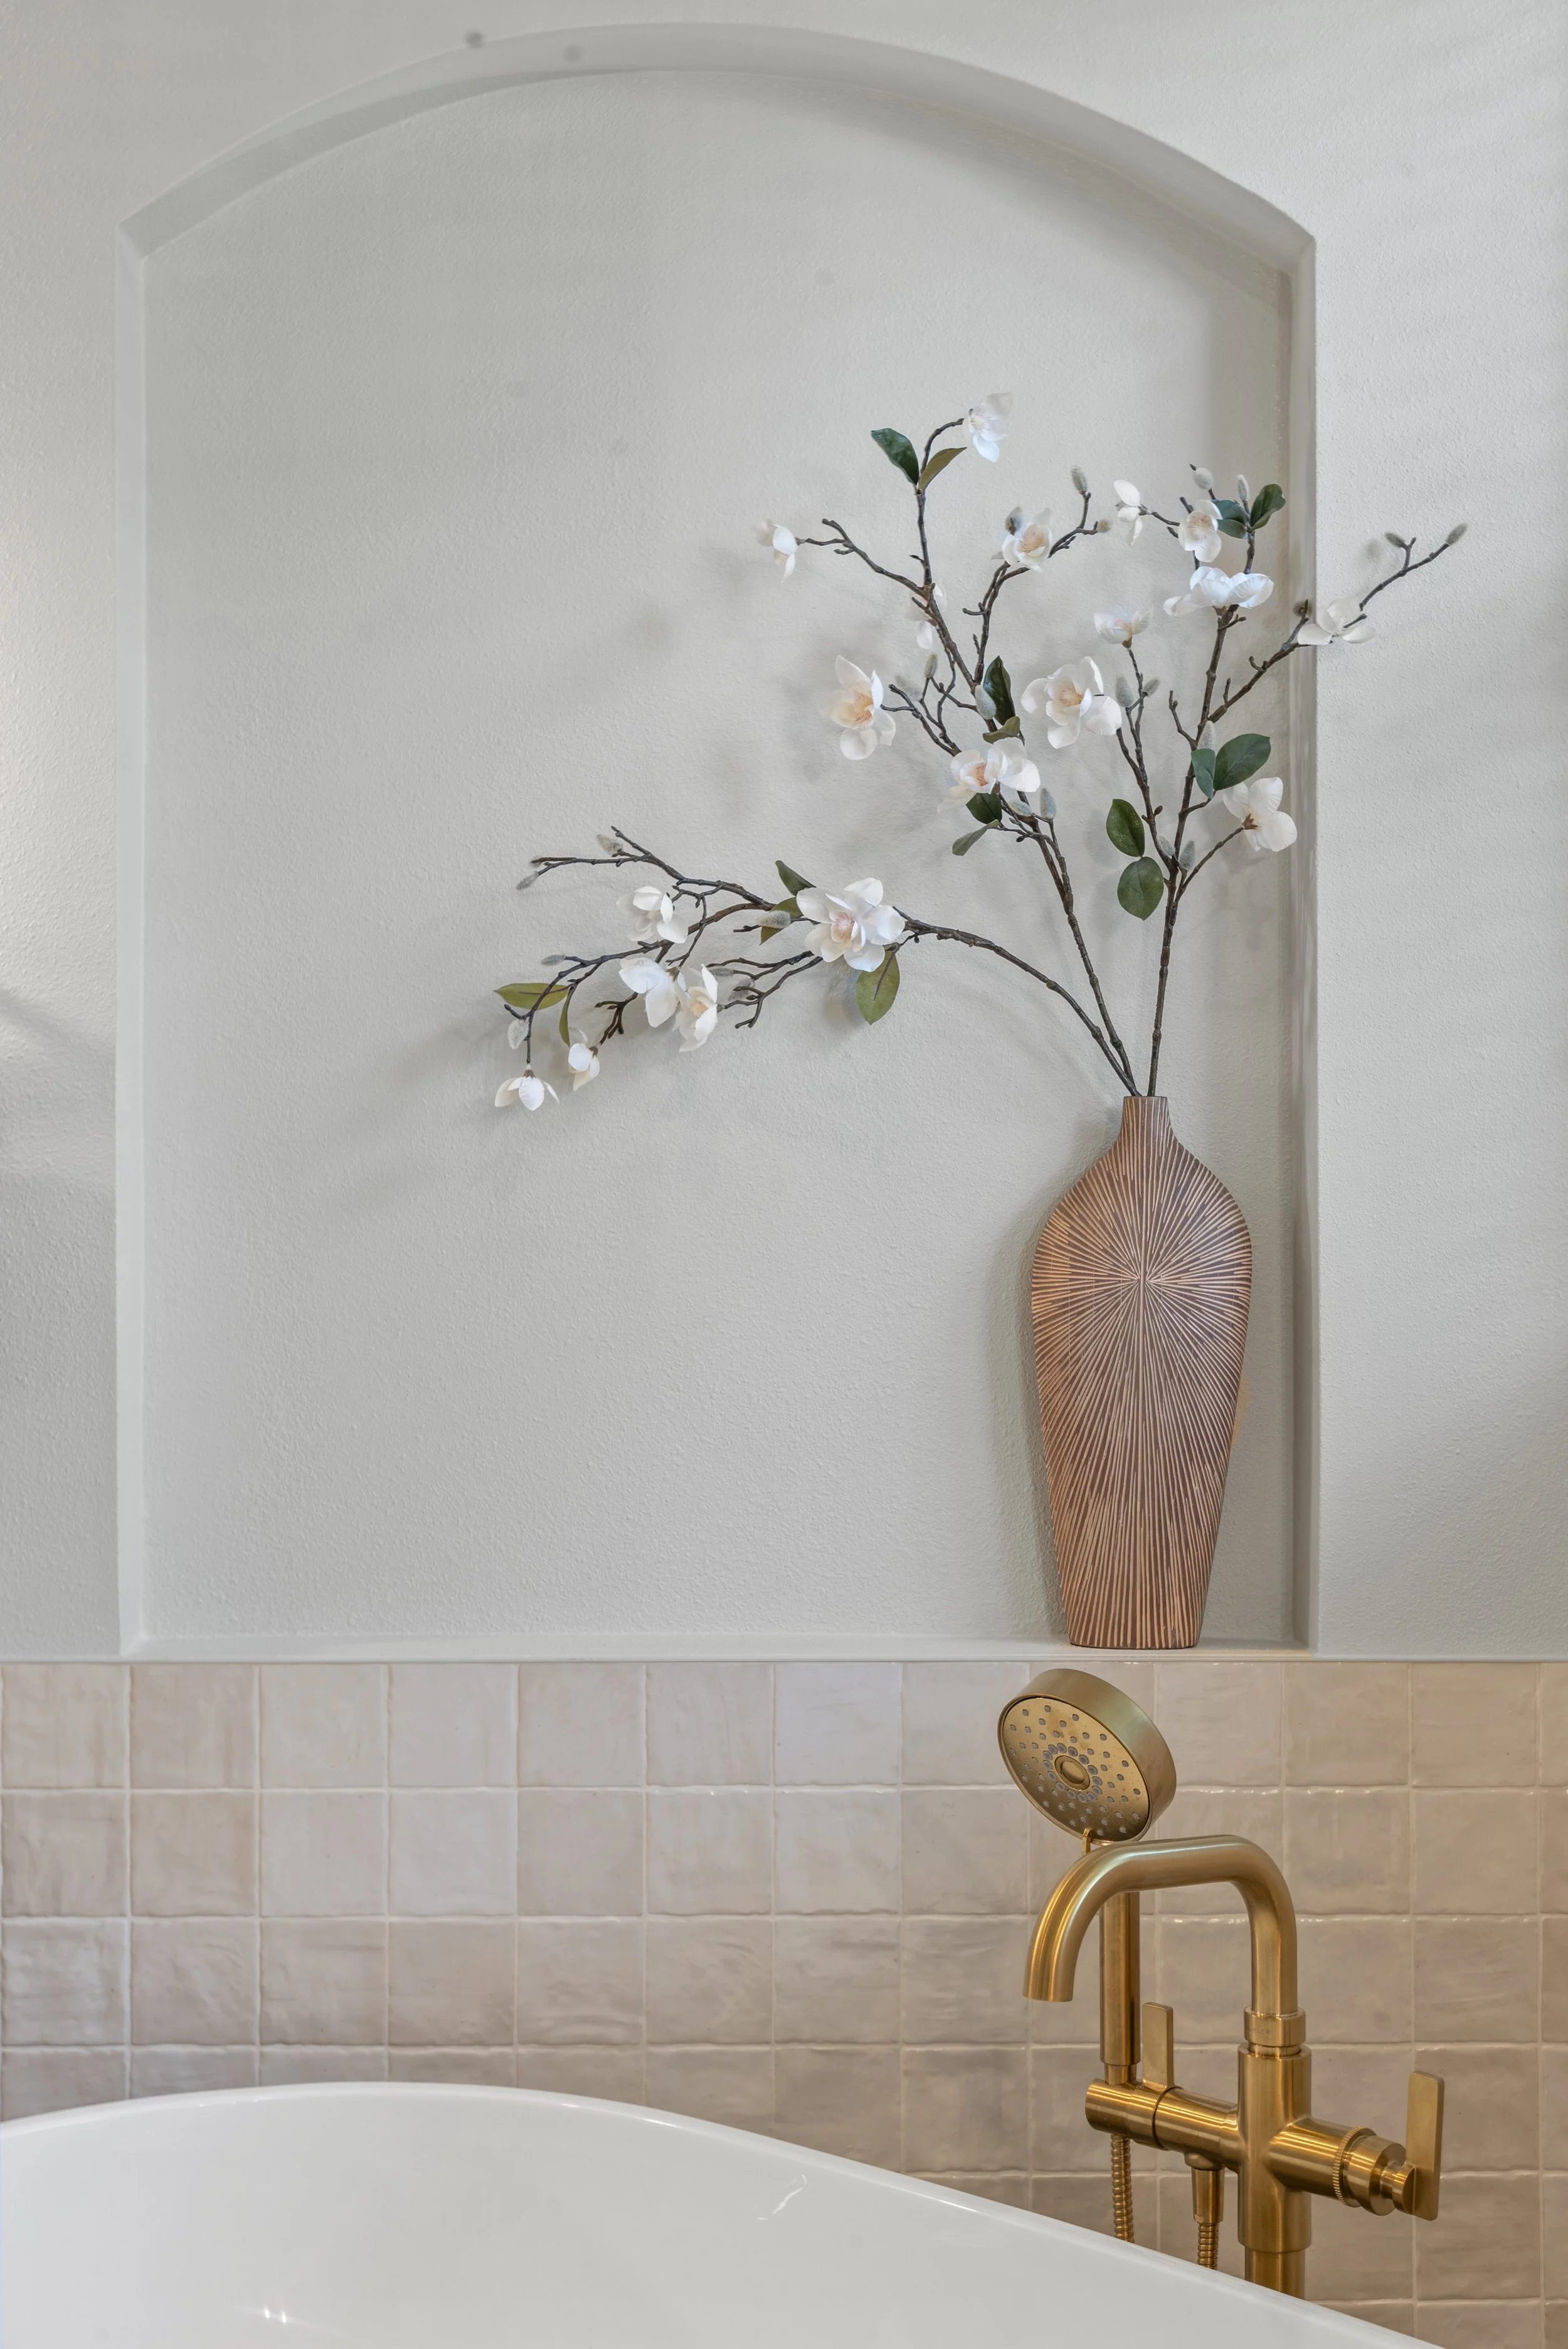
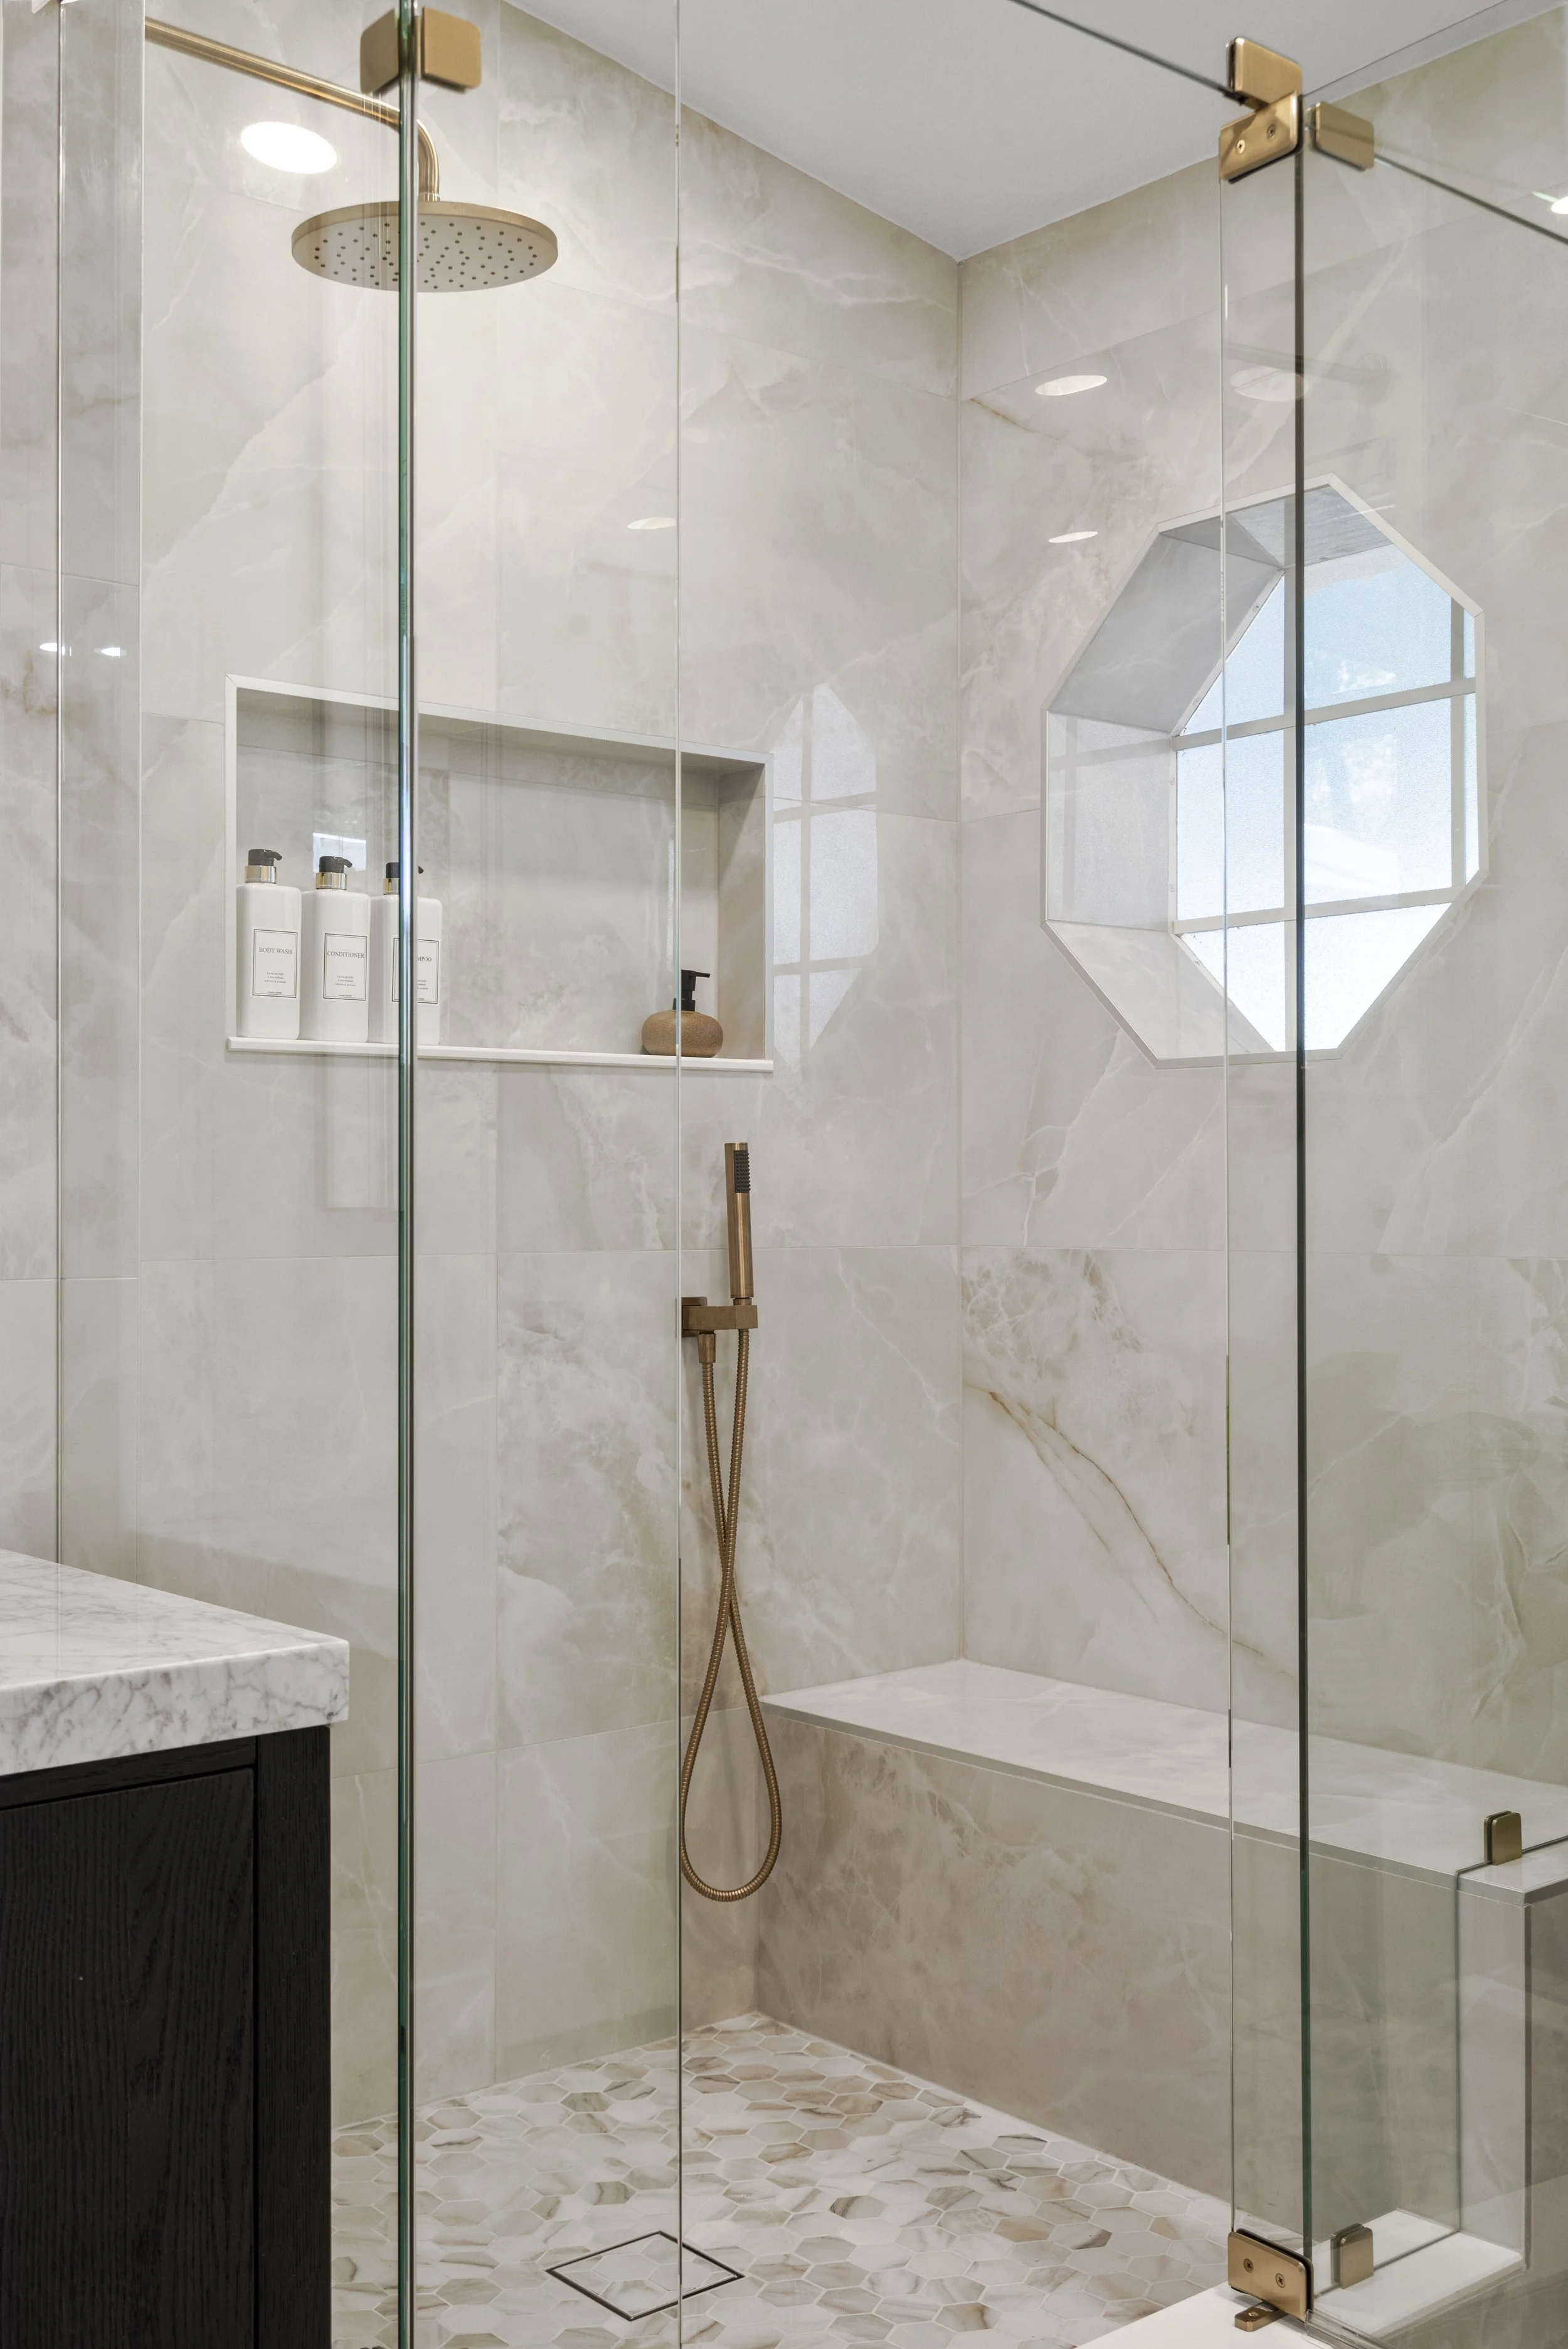
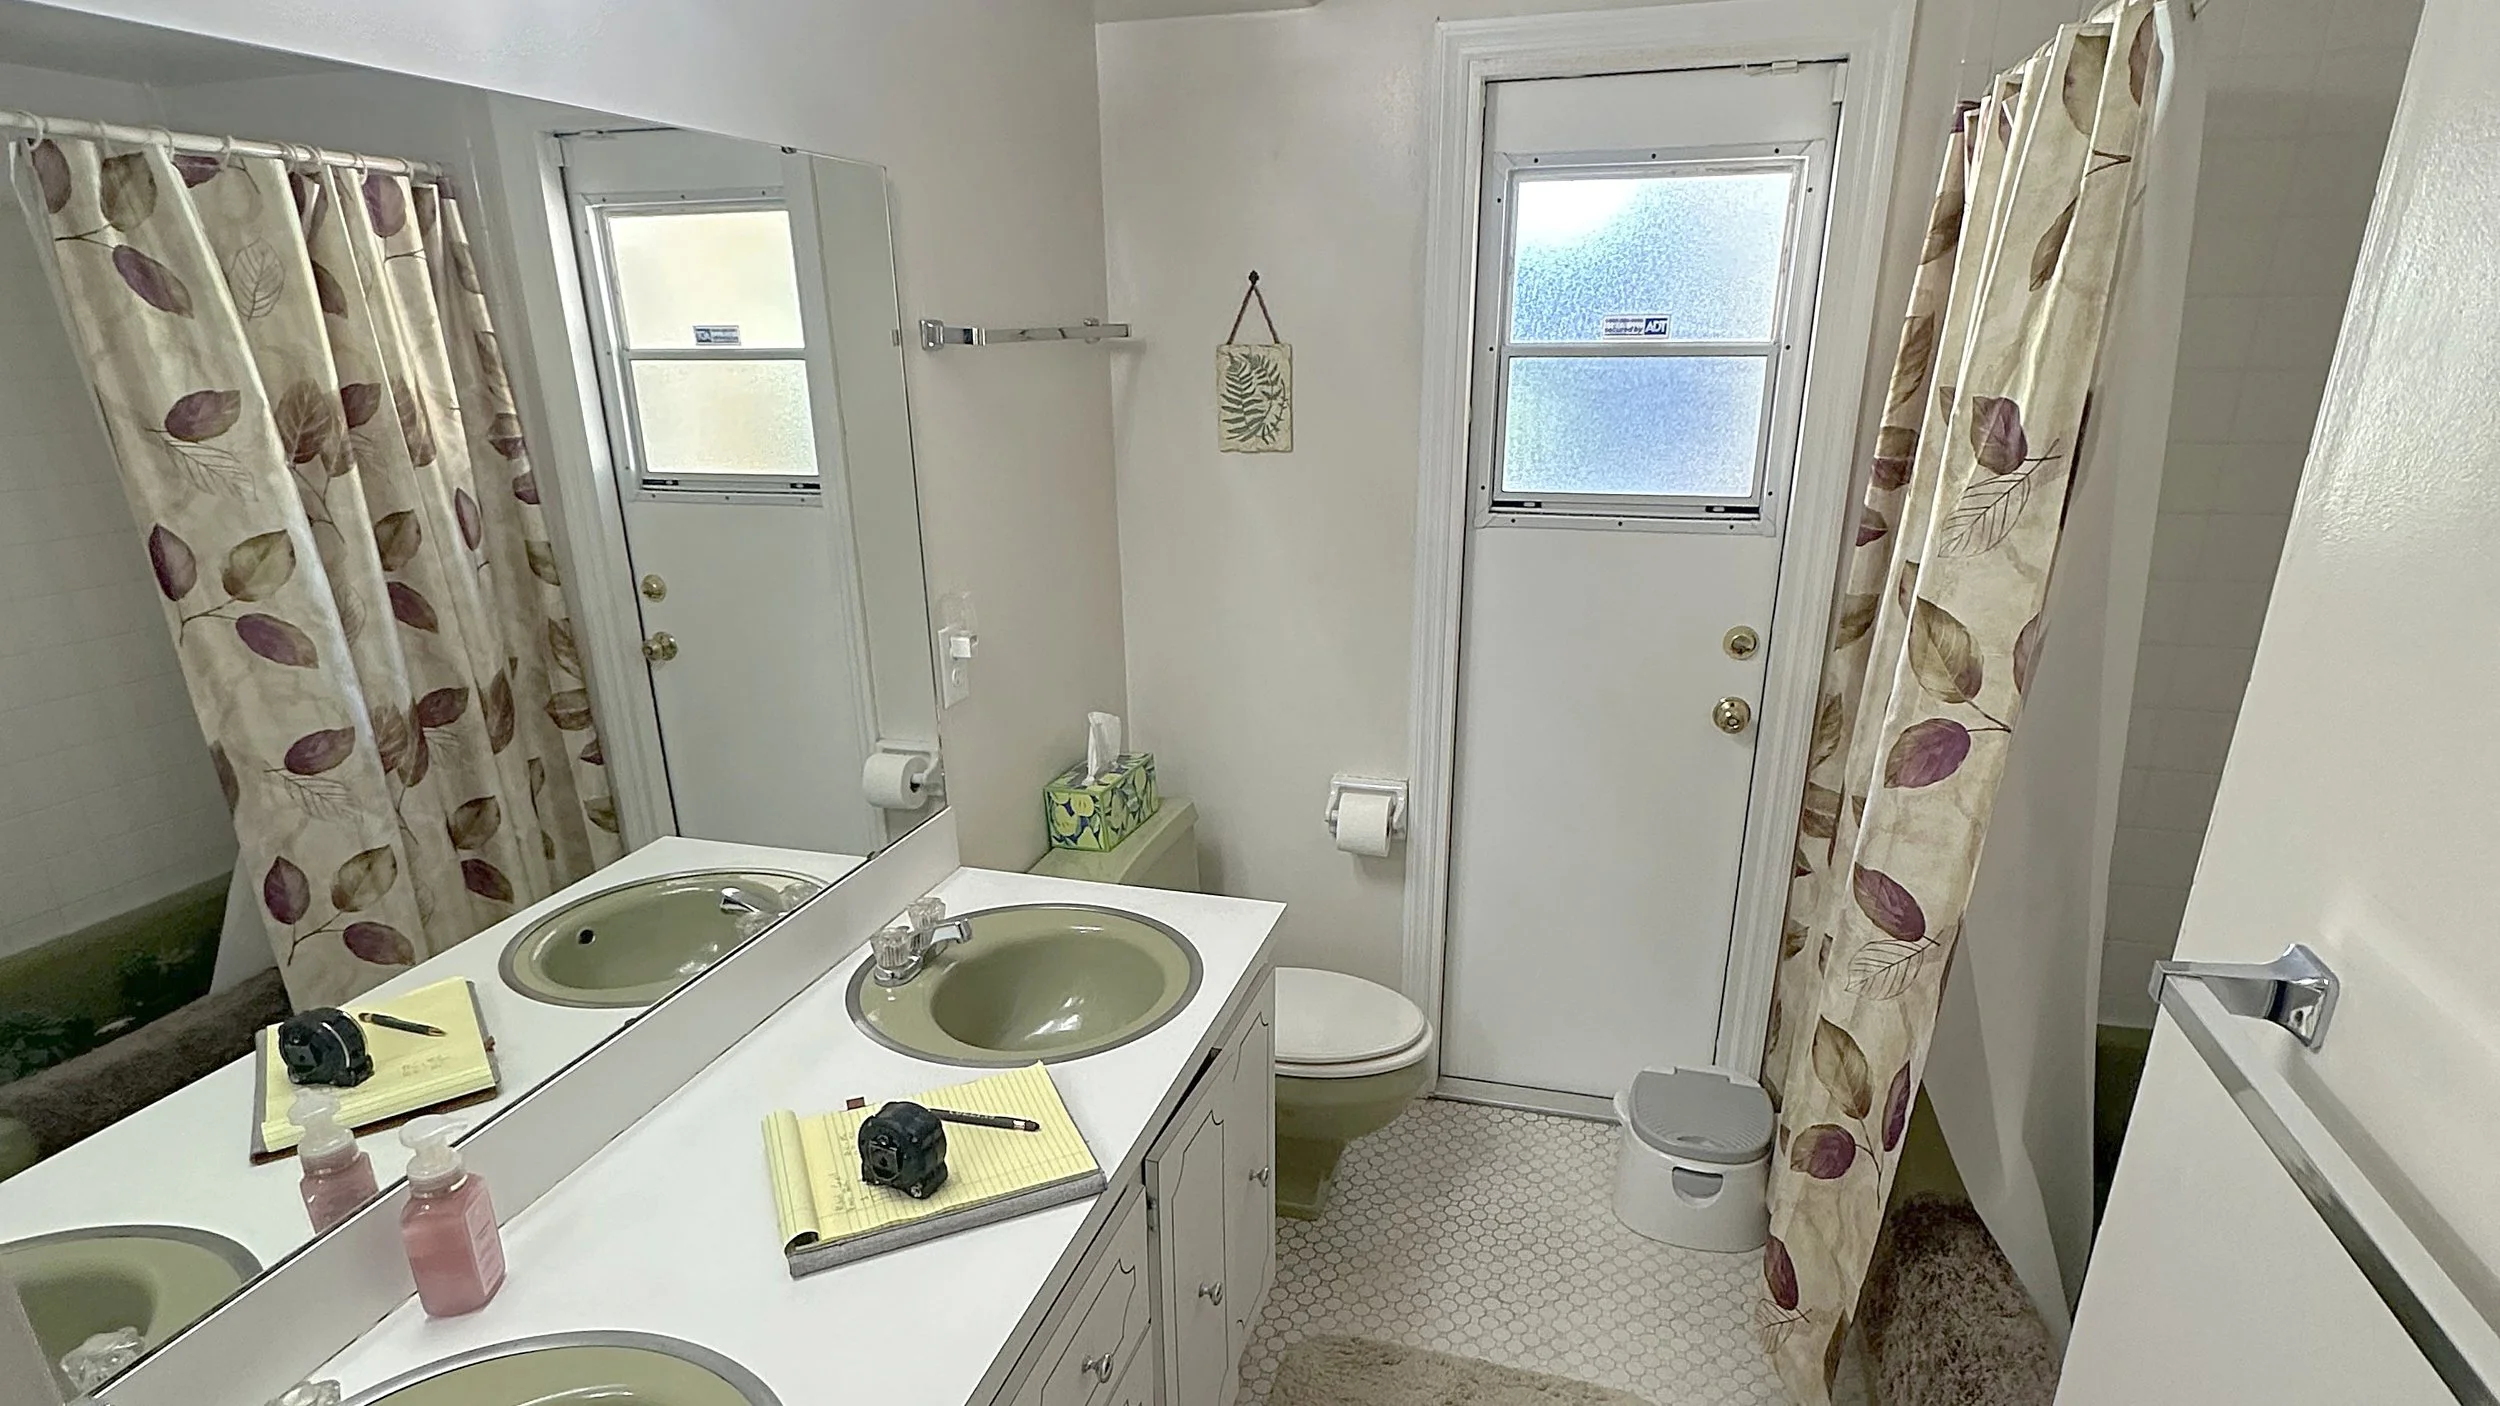
Tub-to-Shower Conversion: What Most People Get Wrong
A same-size shower feels smaller than the tub it replaced, and that surprises people. Here is why it happens, how to size a conversion right, and when you are better off keeping the tub.